Miscellaneous photos
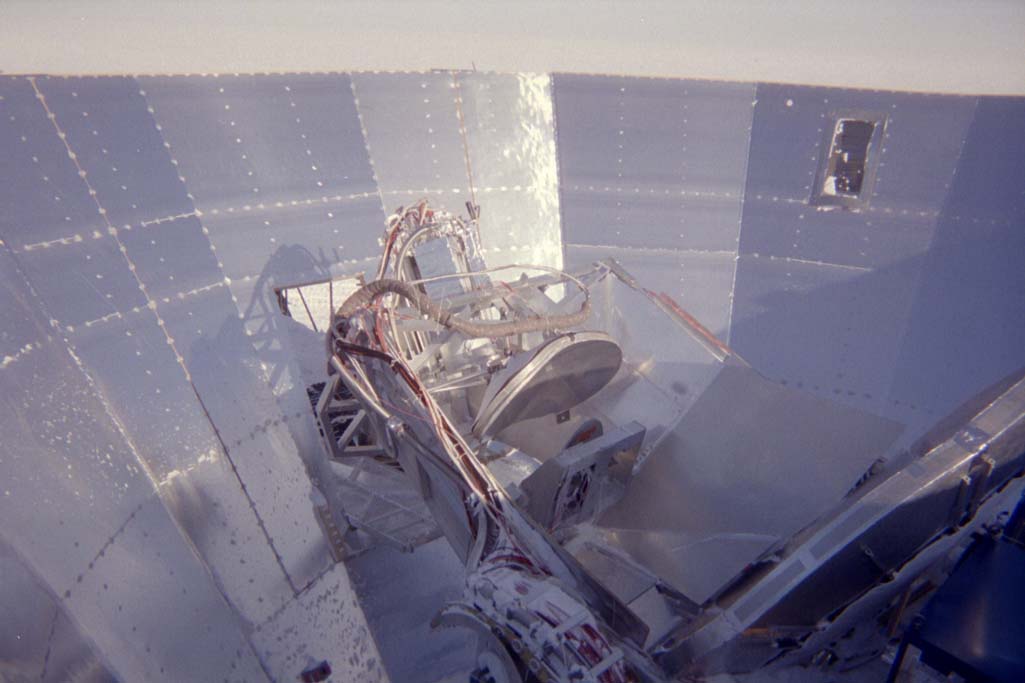
- Sparo on Viper. small image & large image
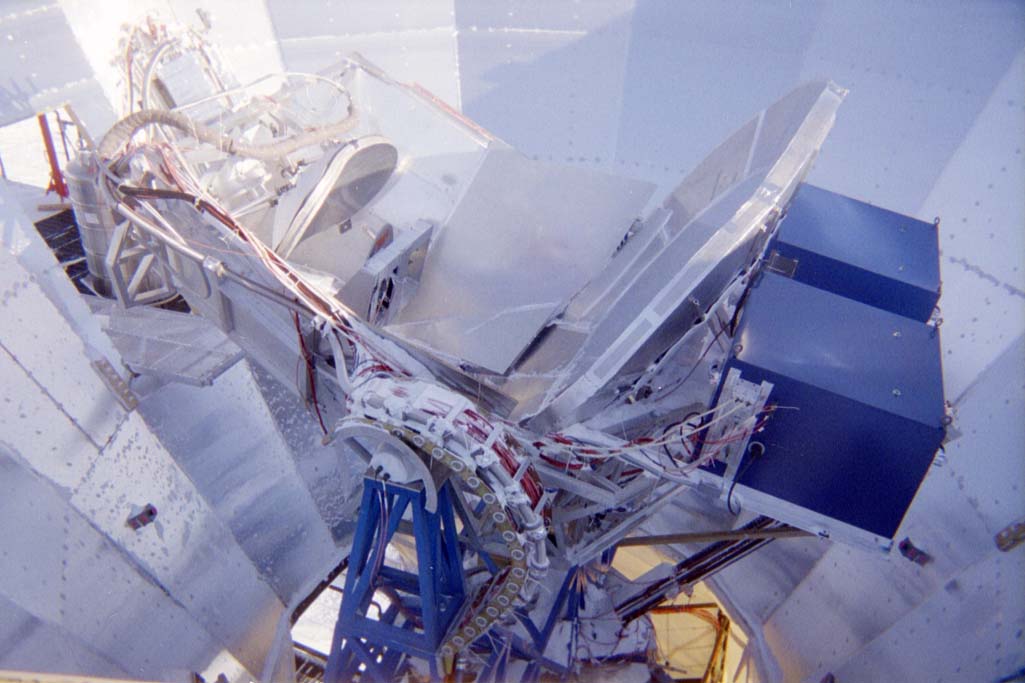
- SPARO on Viper - showing Corona and SPARO data system enclosures (blue bozes). small image & large image
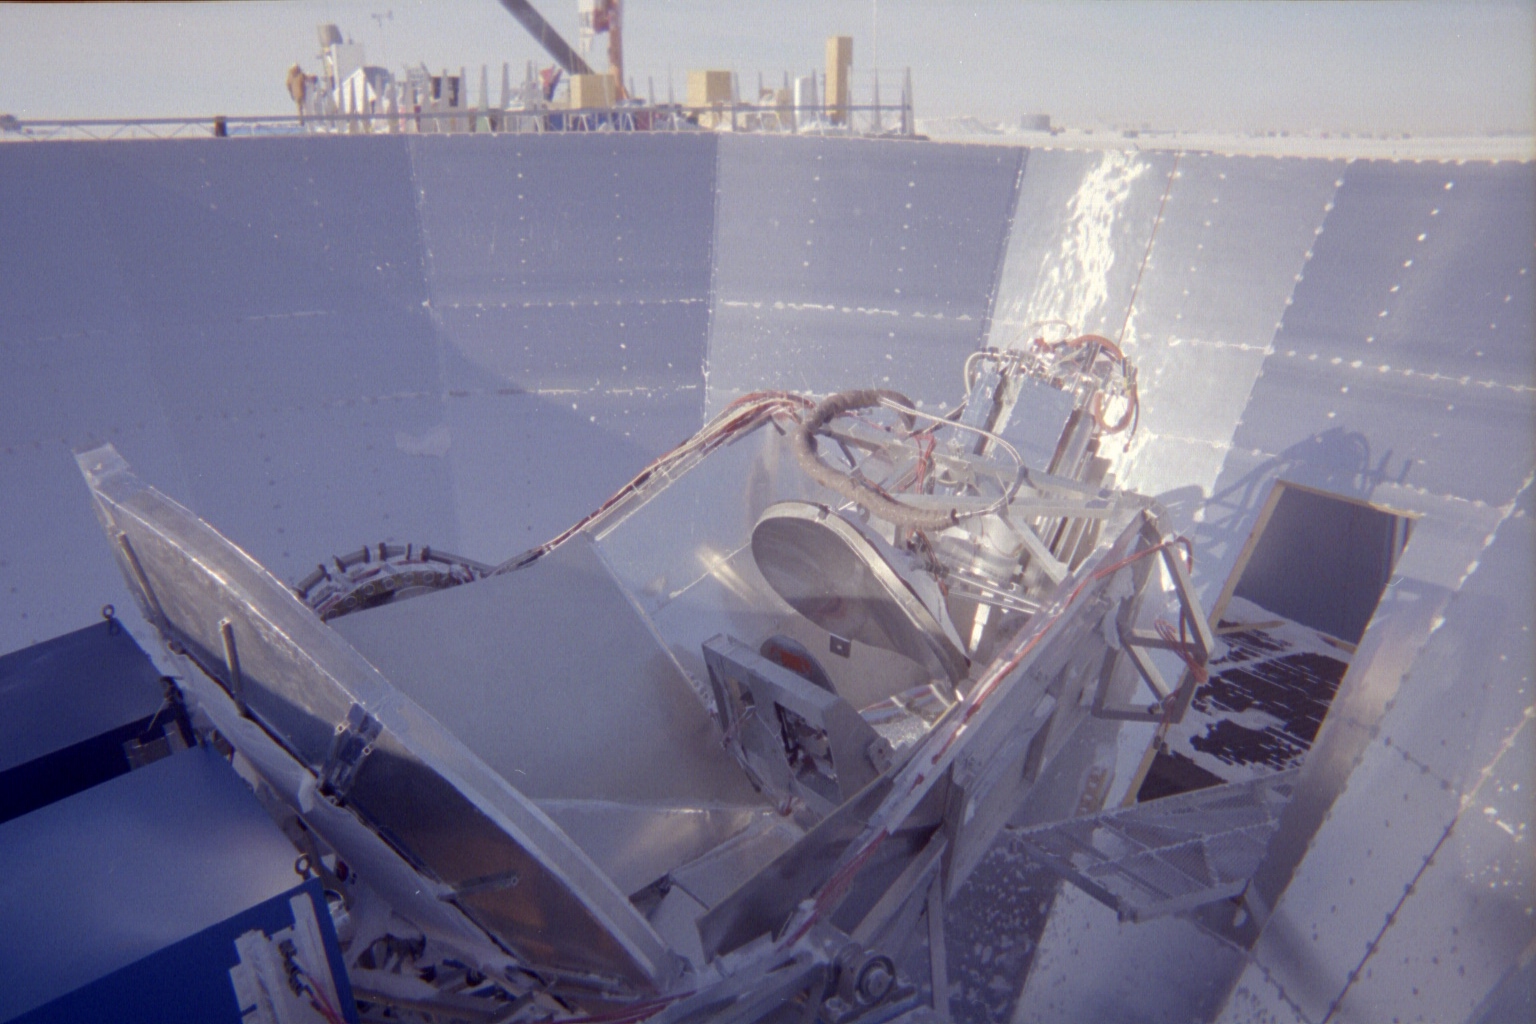
- SPARO on Viper - showing some of MAPO. small image & large image.
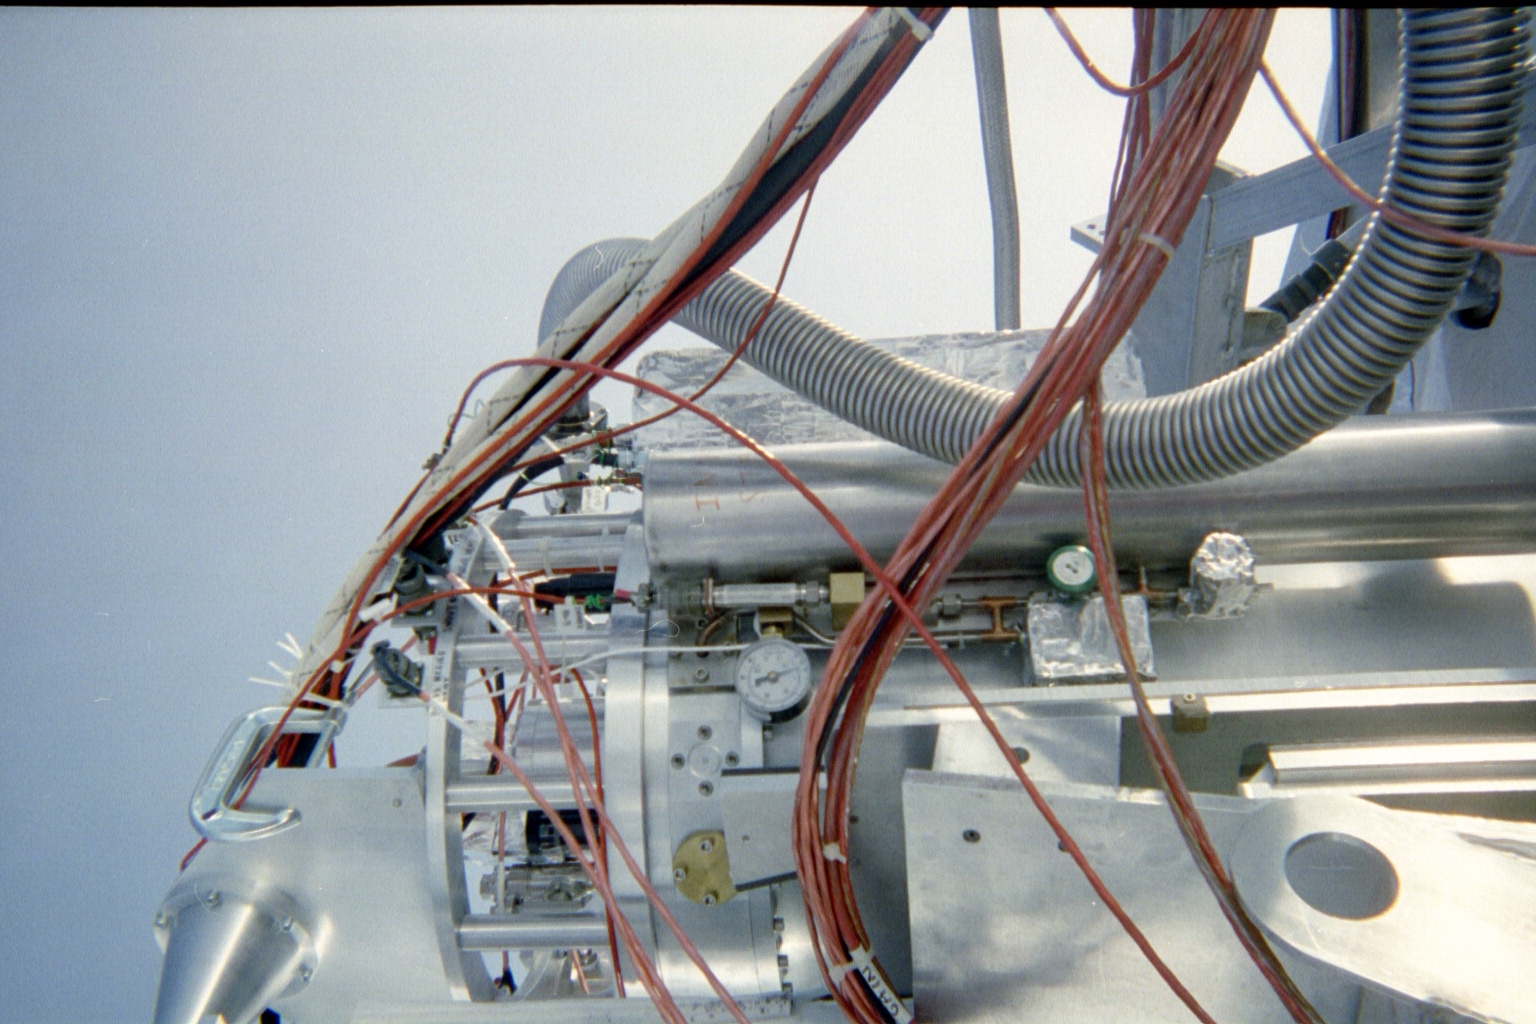
- SPARO detail - side view. small image & large image
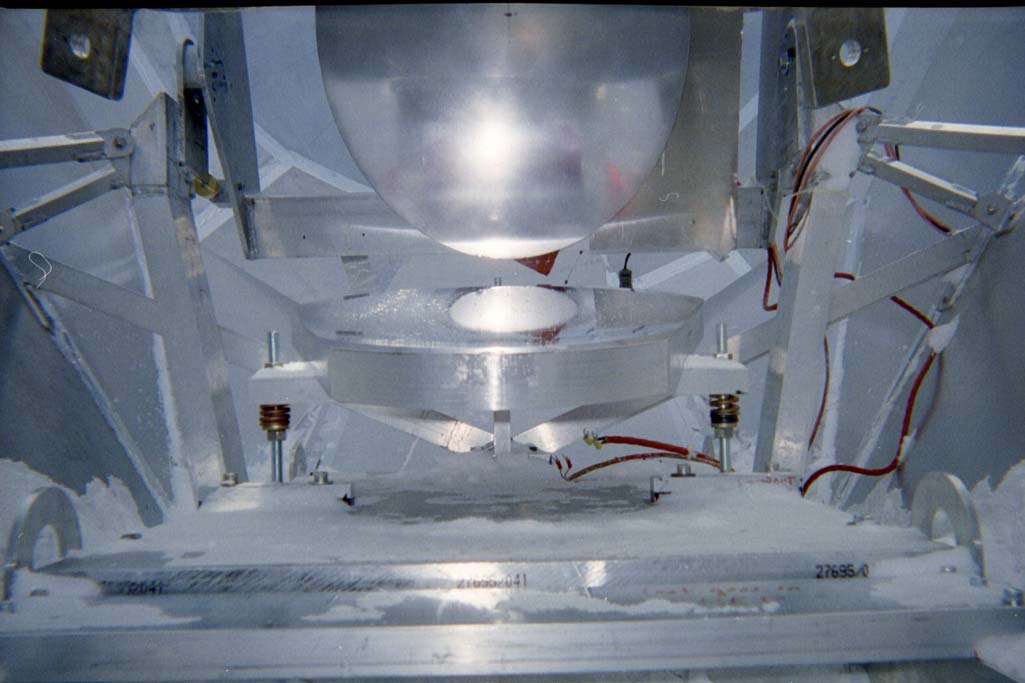
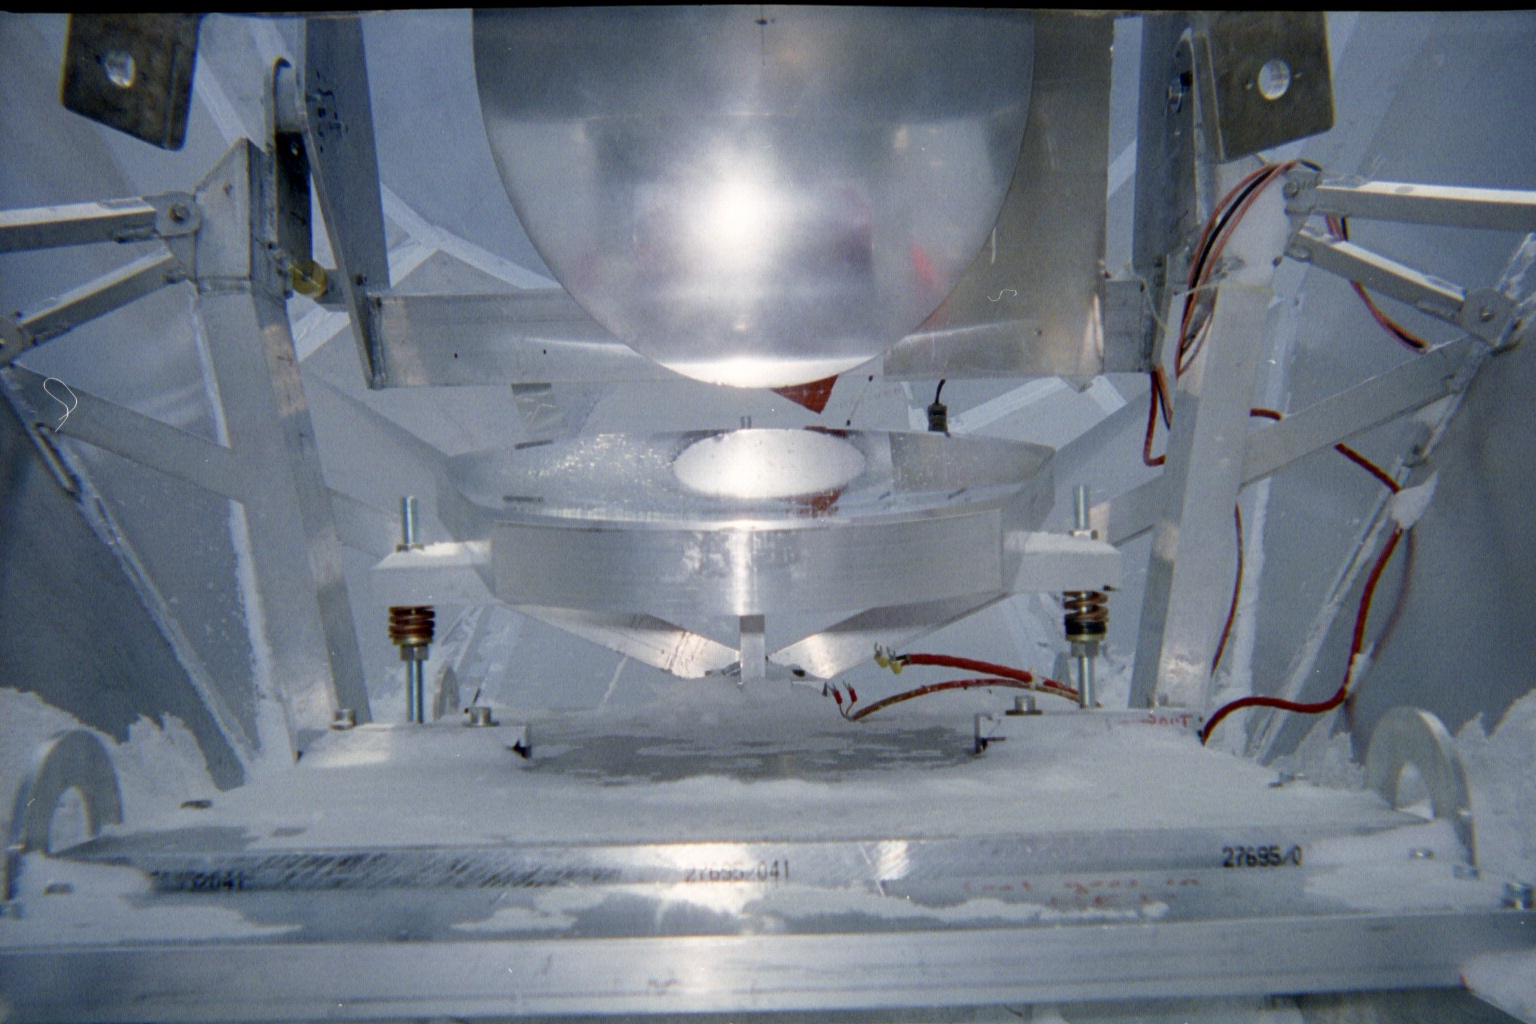
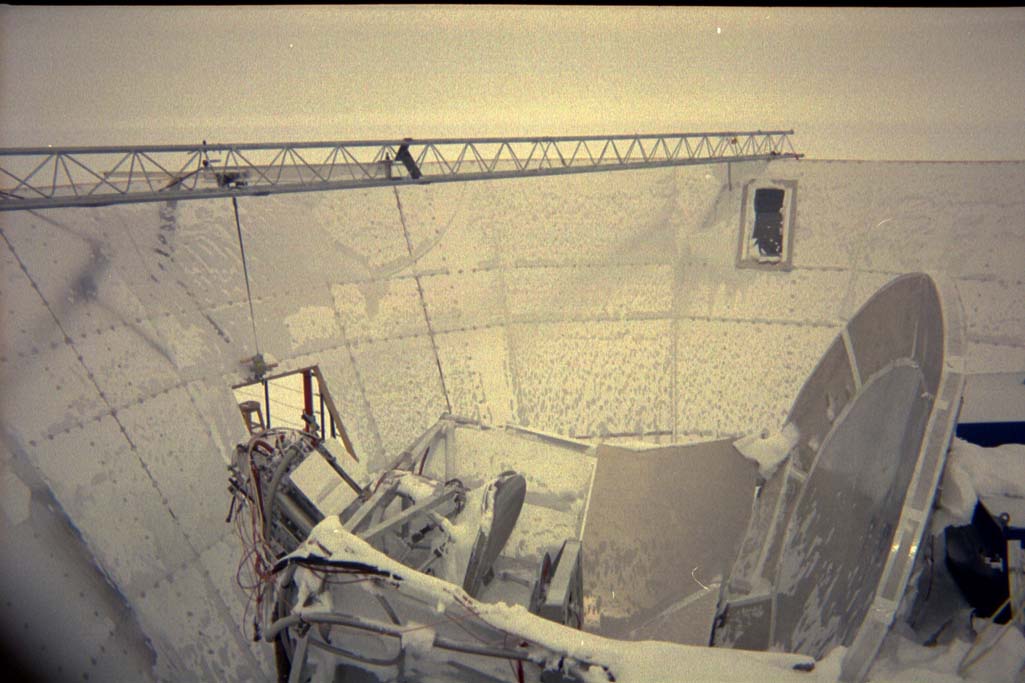
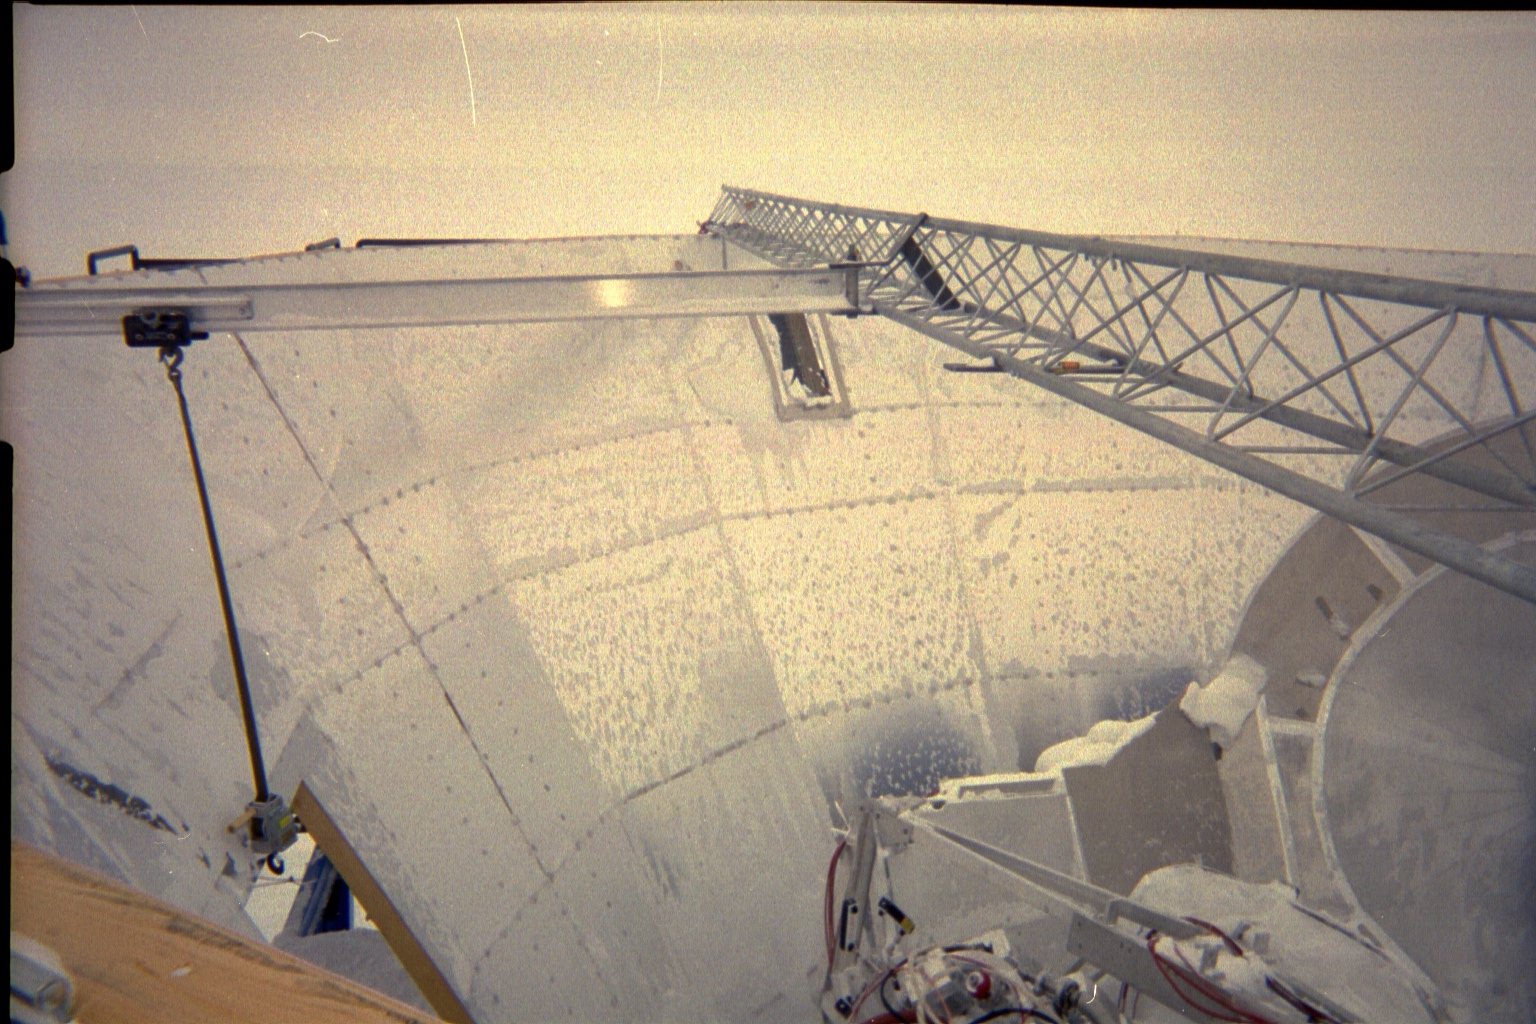
- SPARO tertiary and Viper chopper. small image & large image
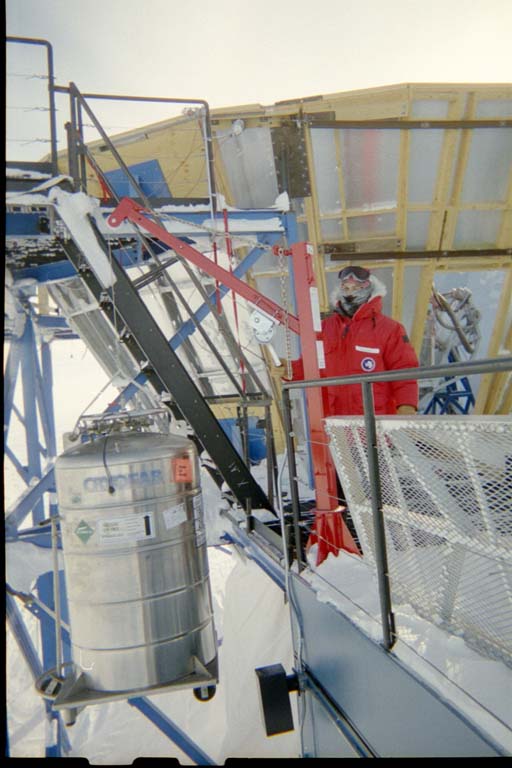
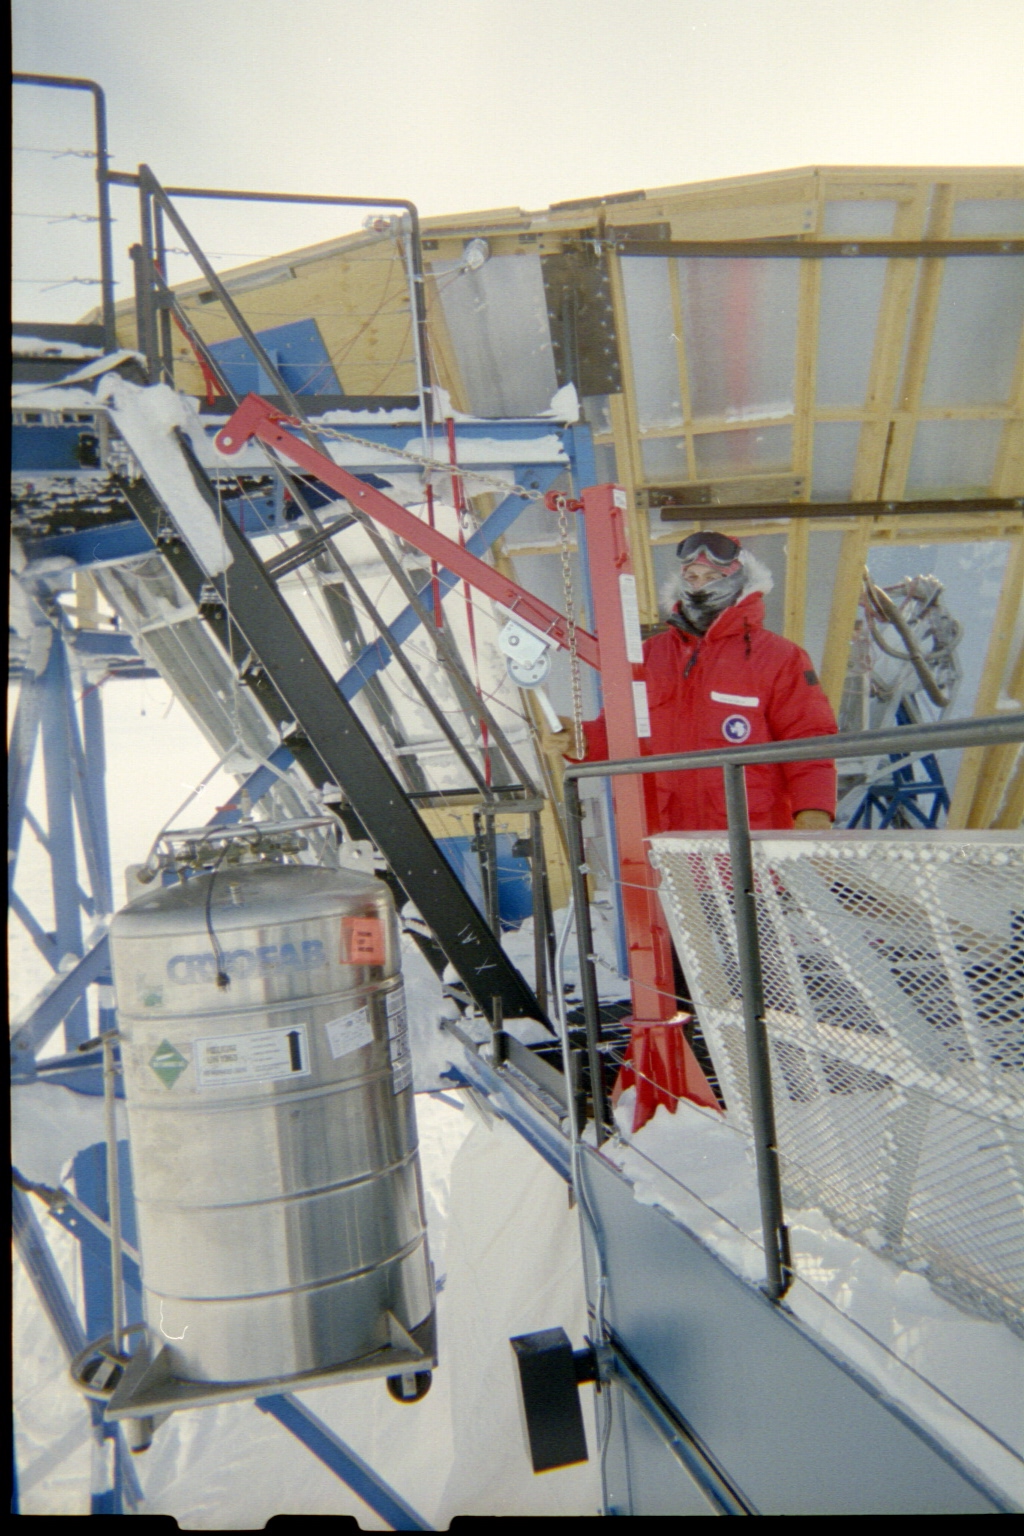
- Helium for SPARO being raised to the roof of the Viper control room. small image & large image
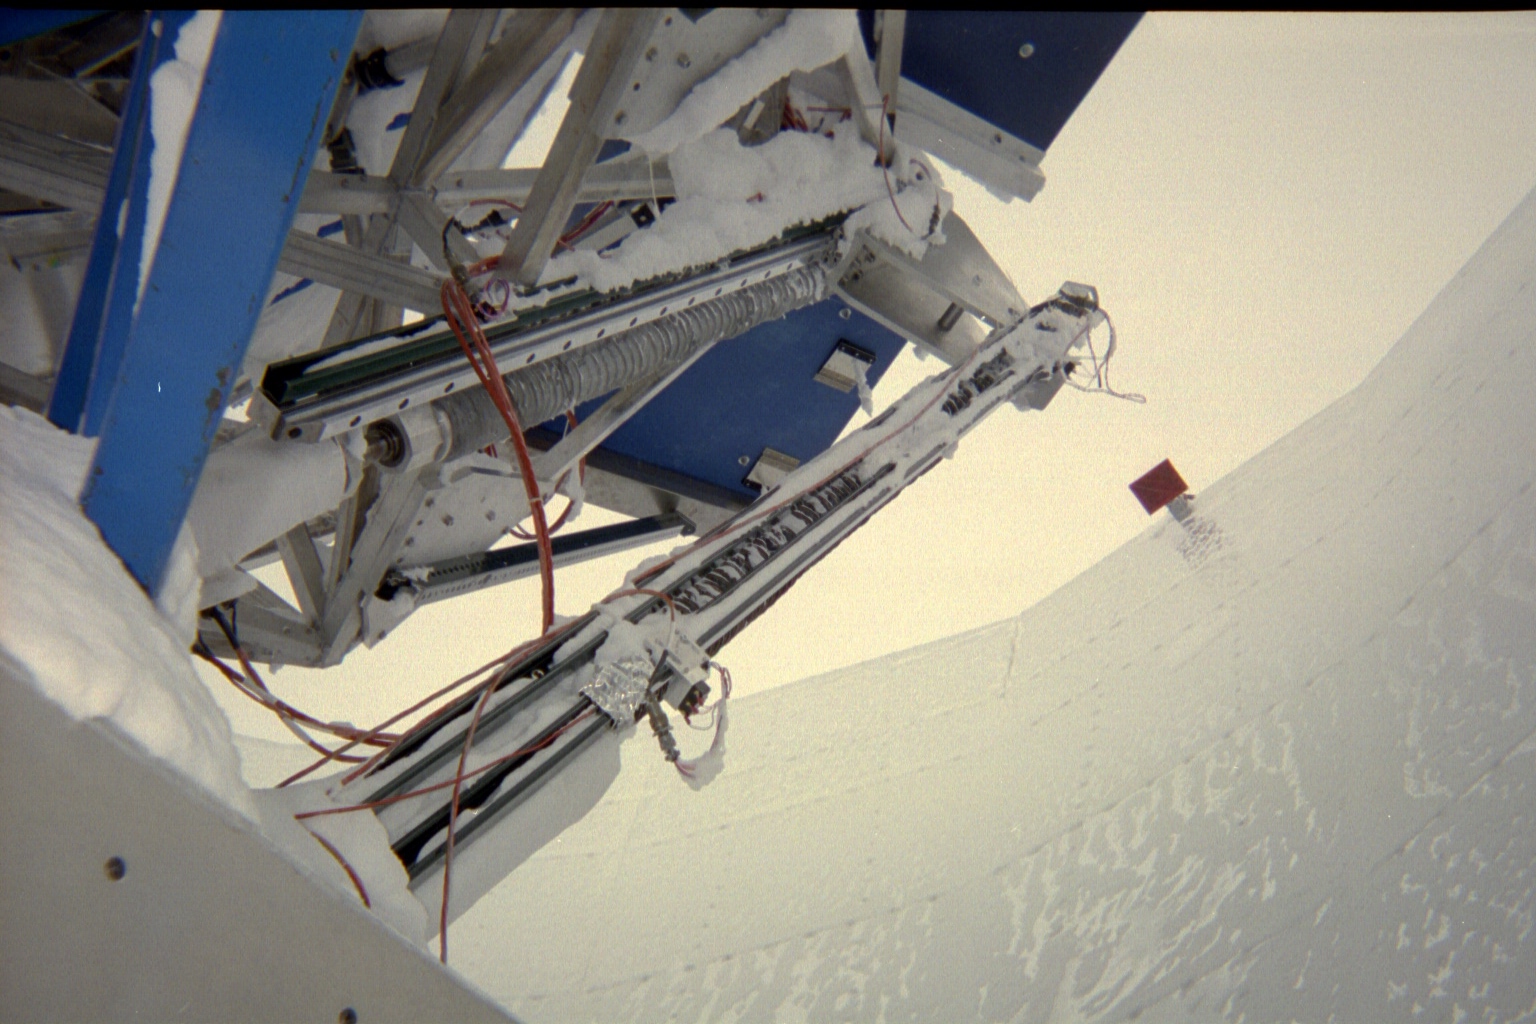
- Viper coarse and fine actuators. <"a href=Jpegs/014_14sml.jpg">small image & large image
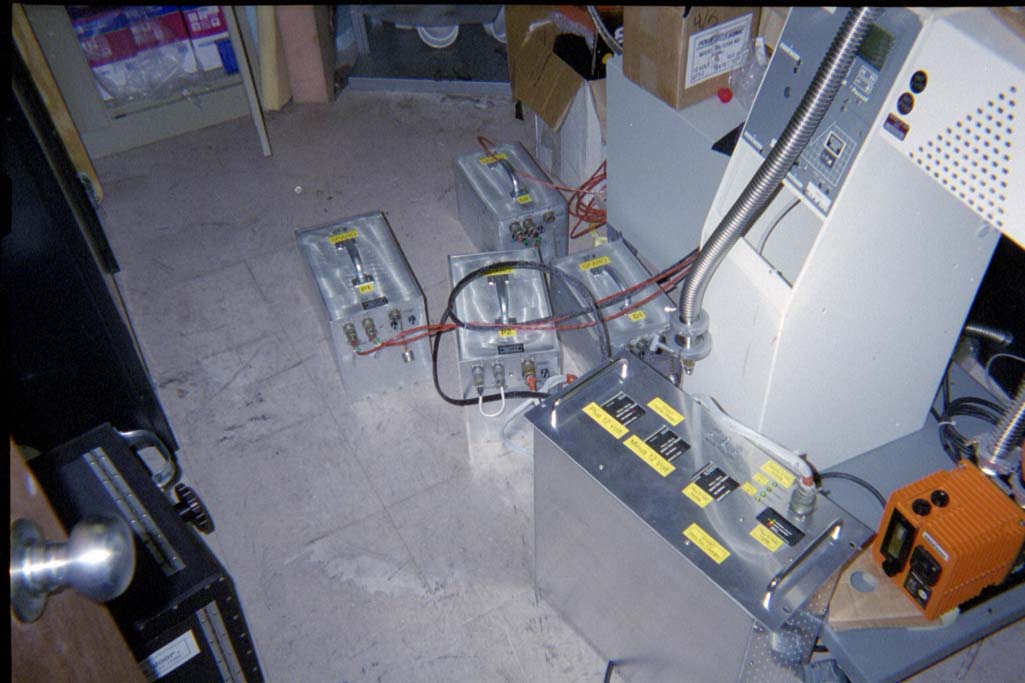
- SPARO's batteries and charger. small image & large image
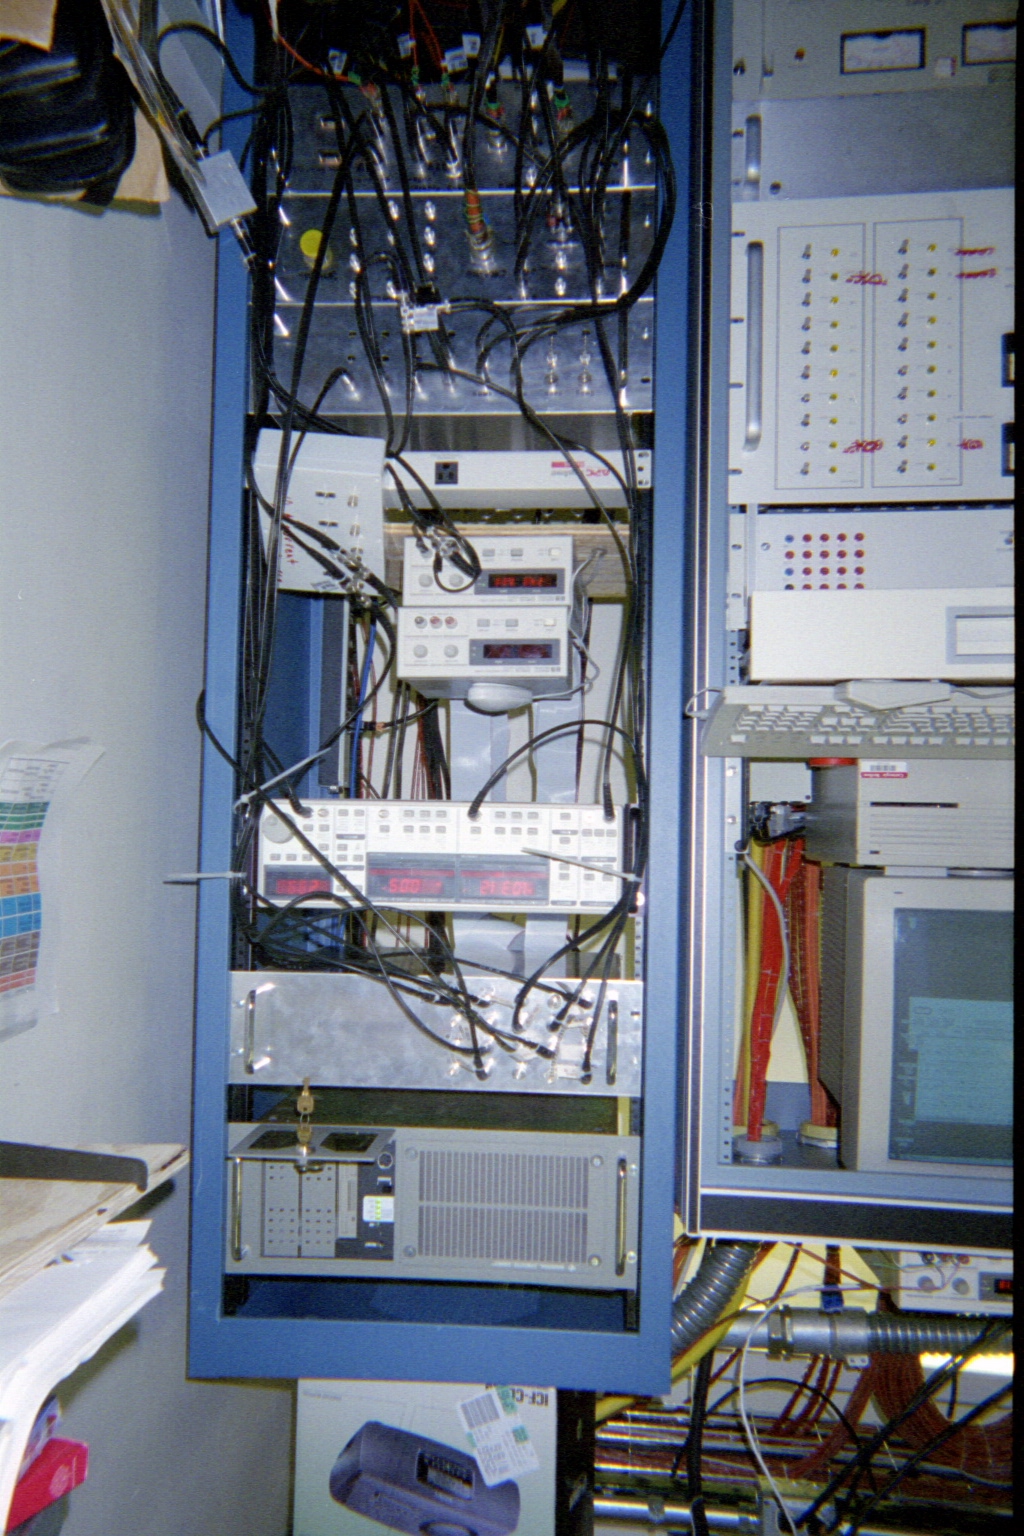
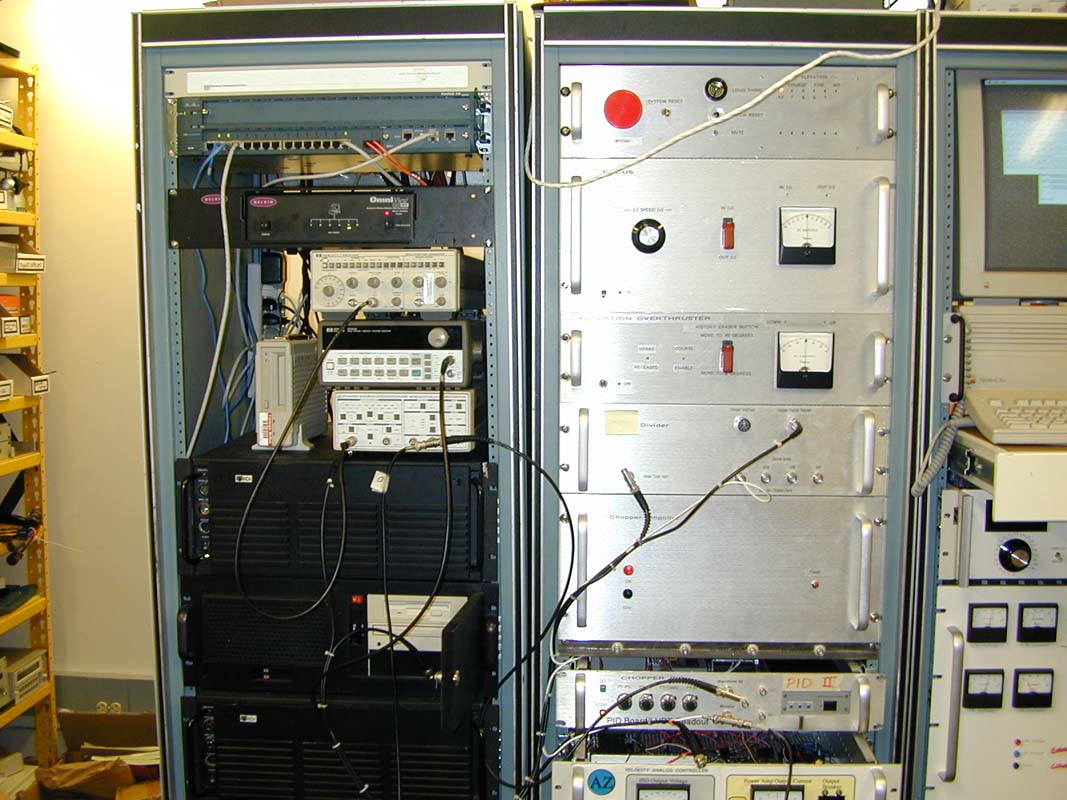
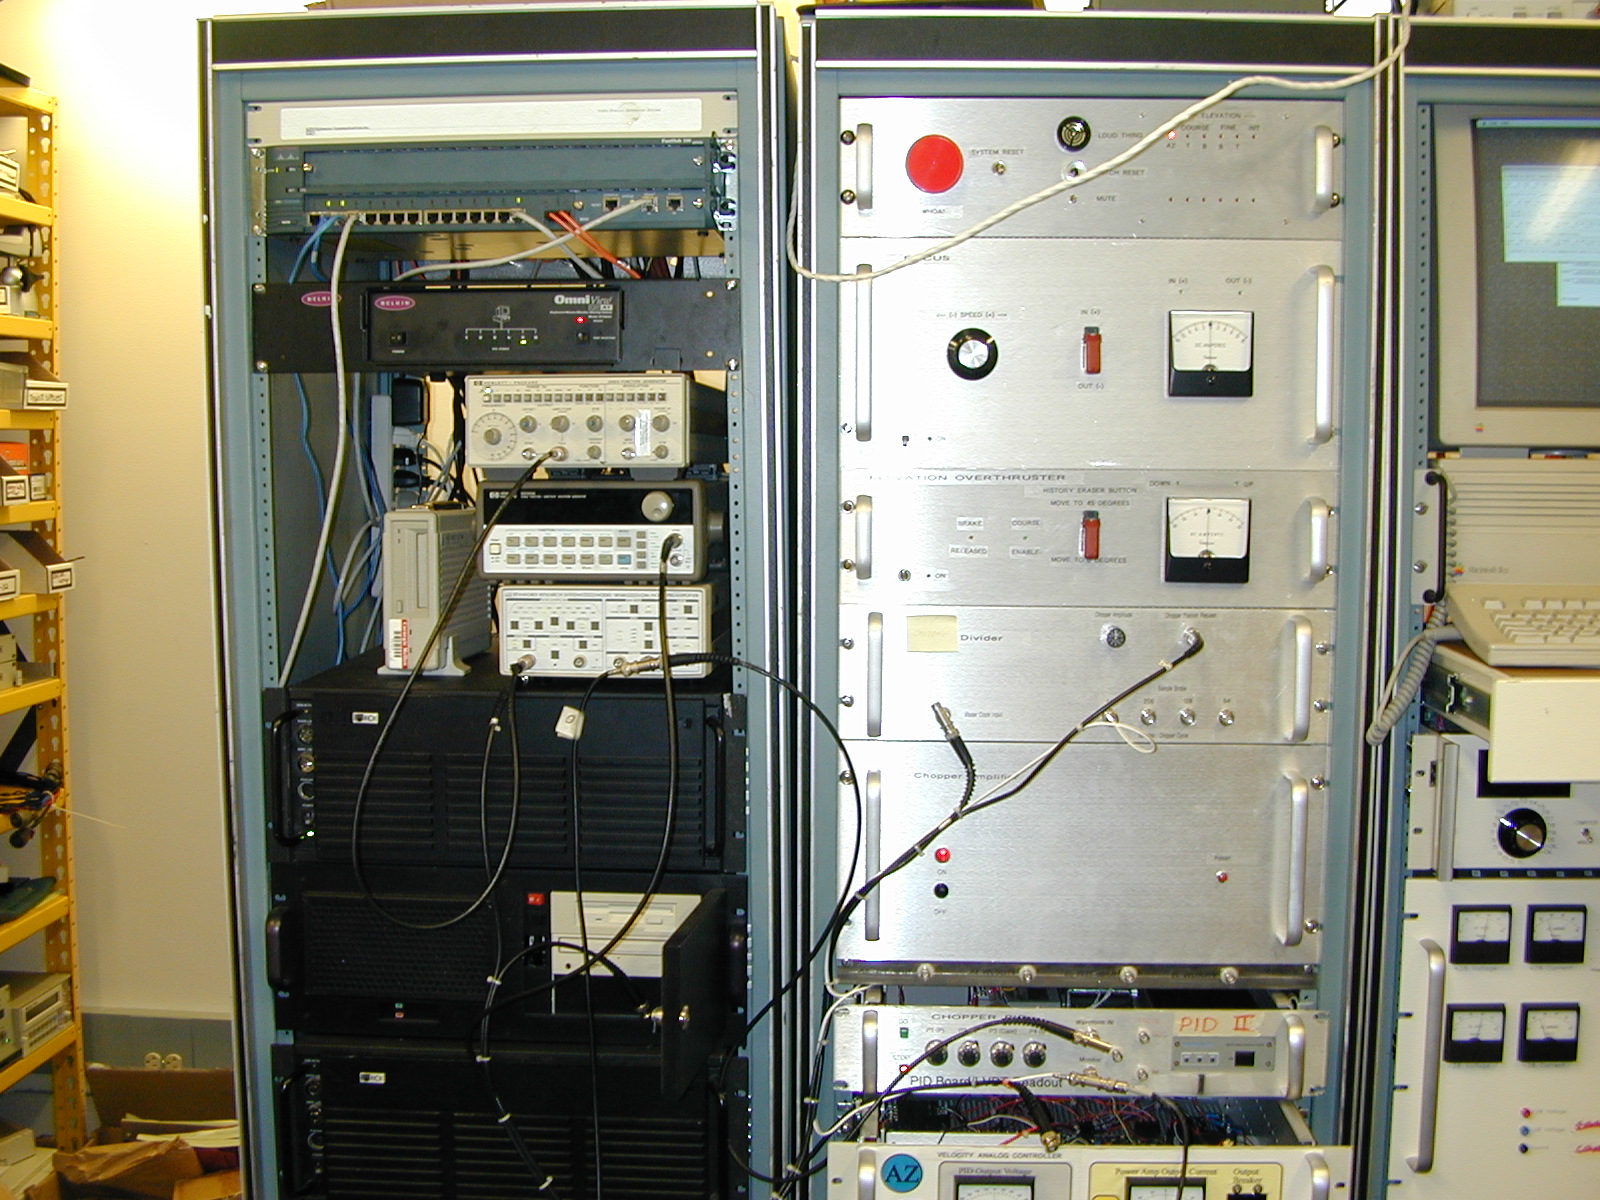
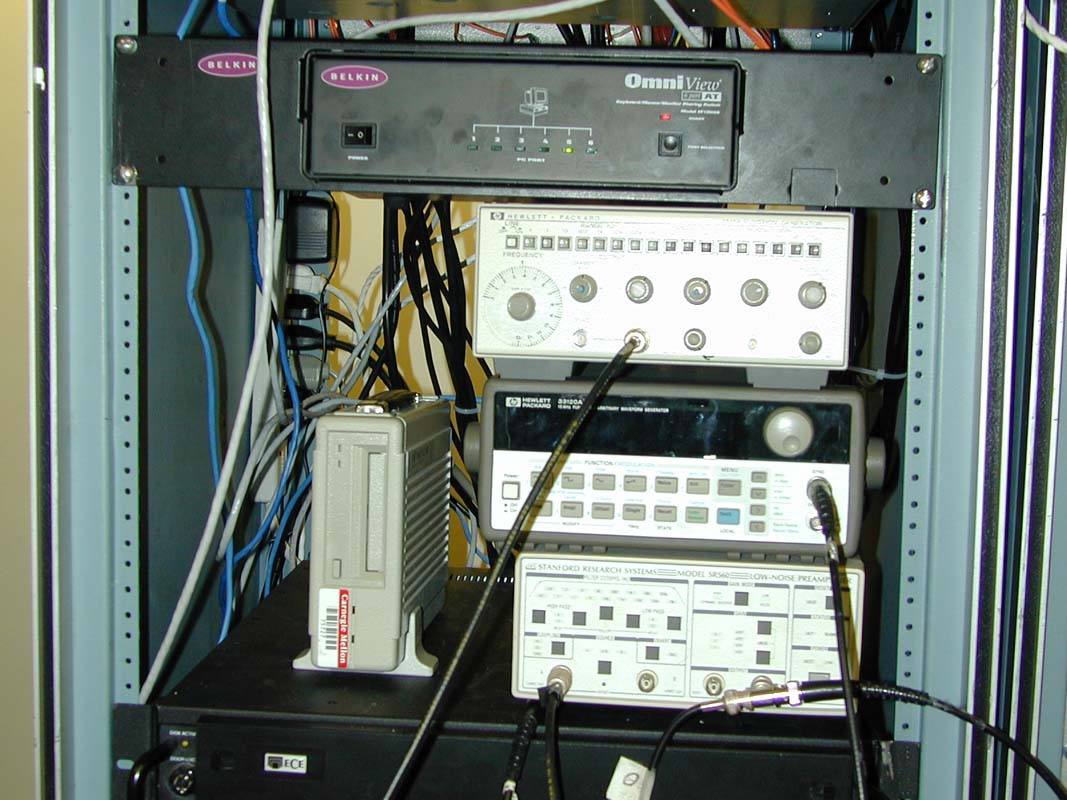
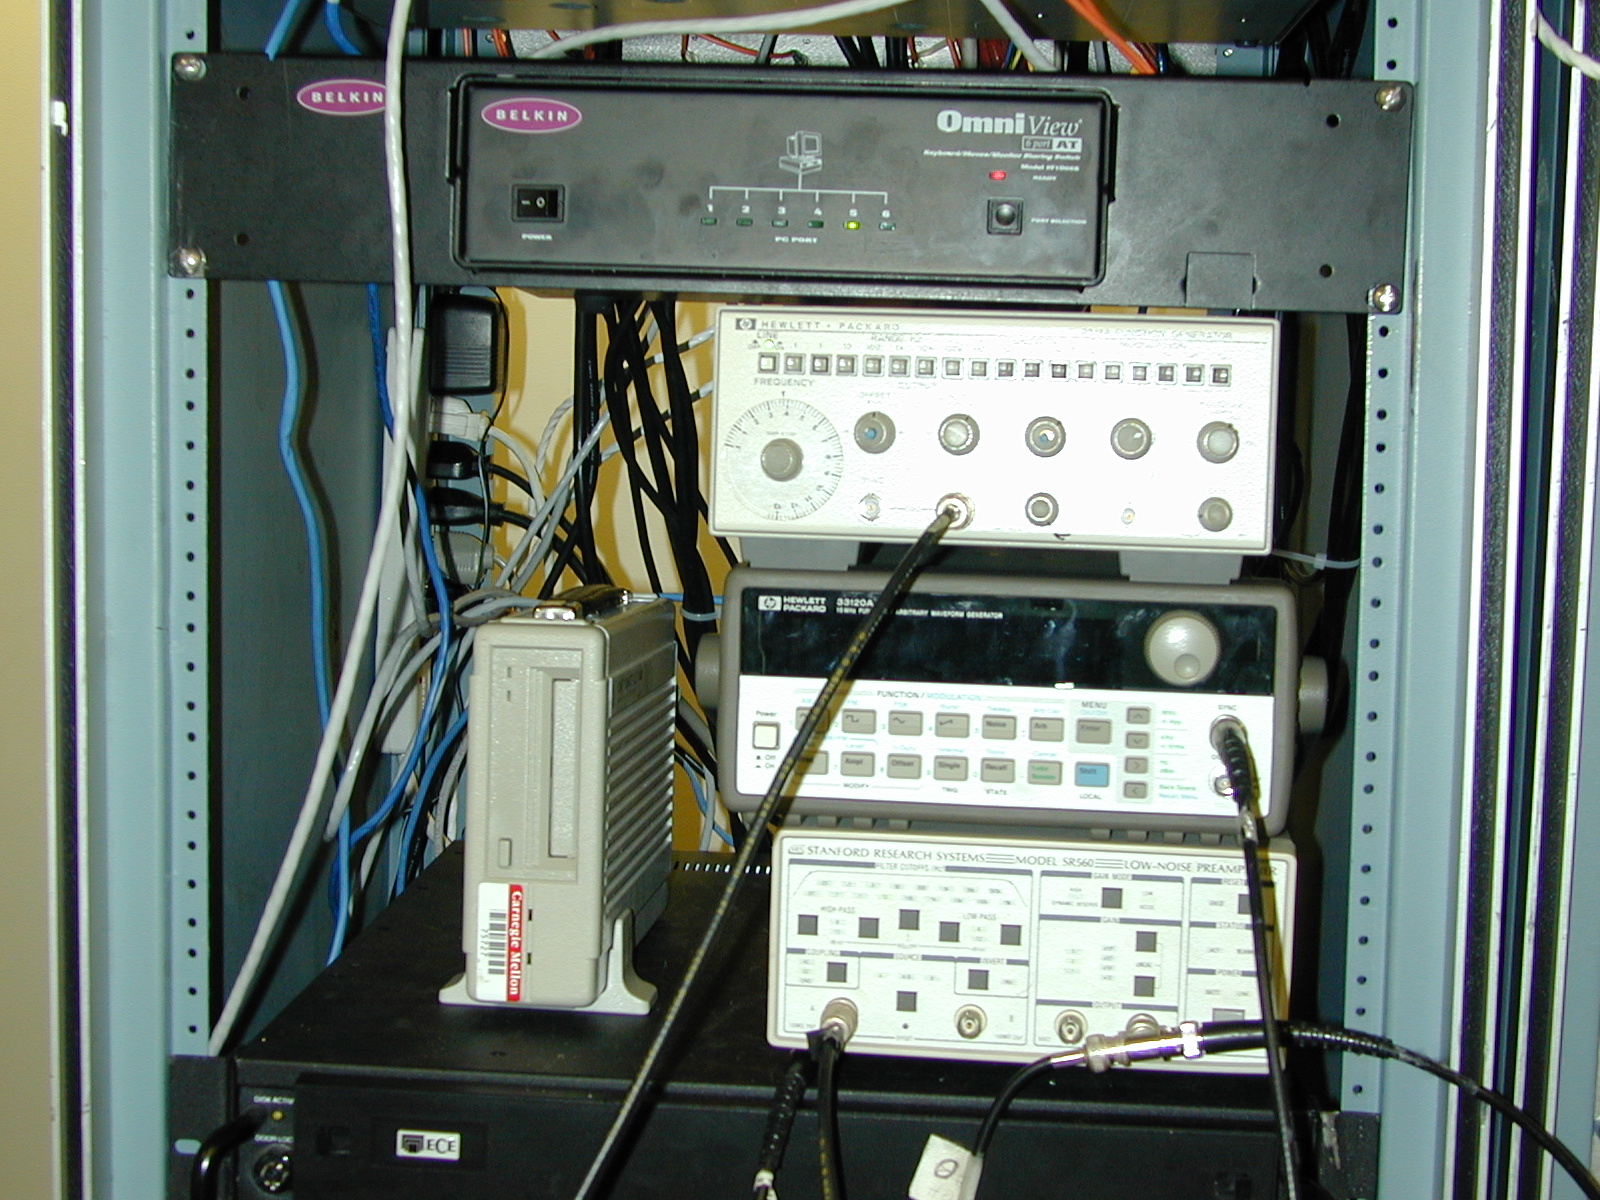
- Viper control rack - two leftmost racks. small image & large image
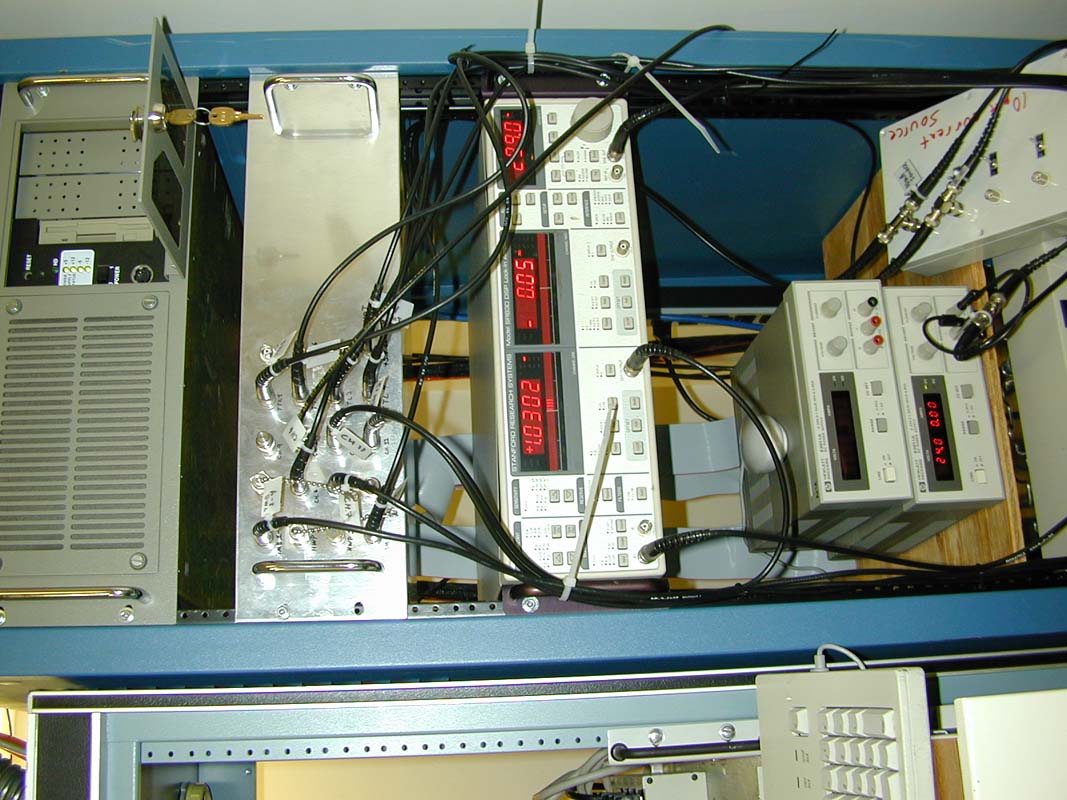
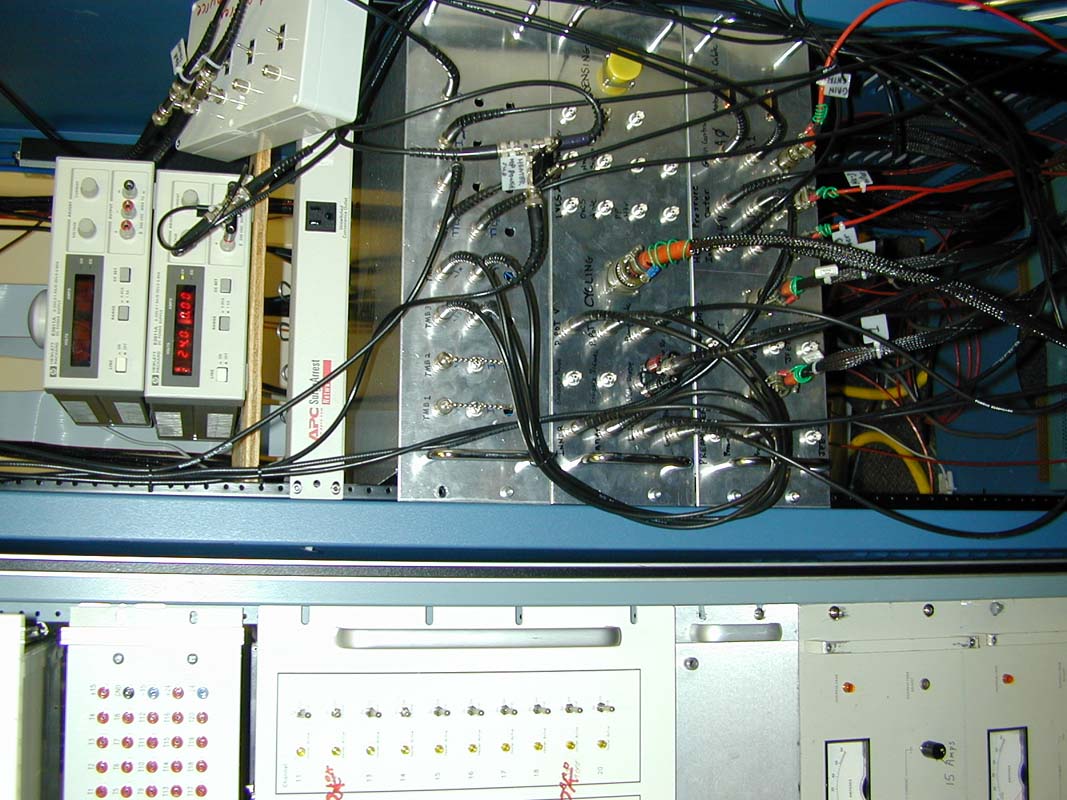
- Viper control rack - two rightmost racks - SPARO rack at far right. small image & large image
- Antenna tower used to helo take SPARO on and off the telescope - 1999. small image & small image & large image
- SPARO on Viper.
- MISC 1
- MISC 2
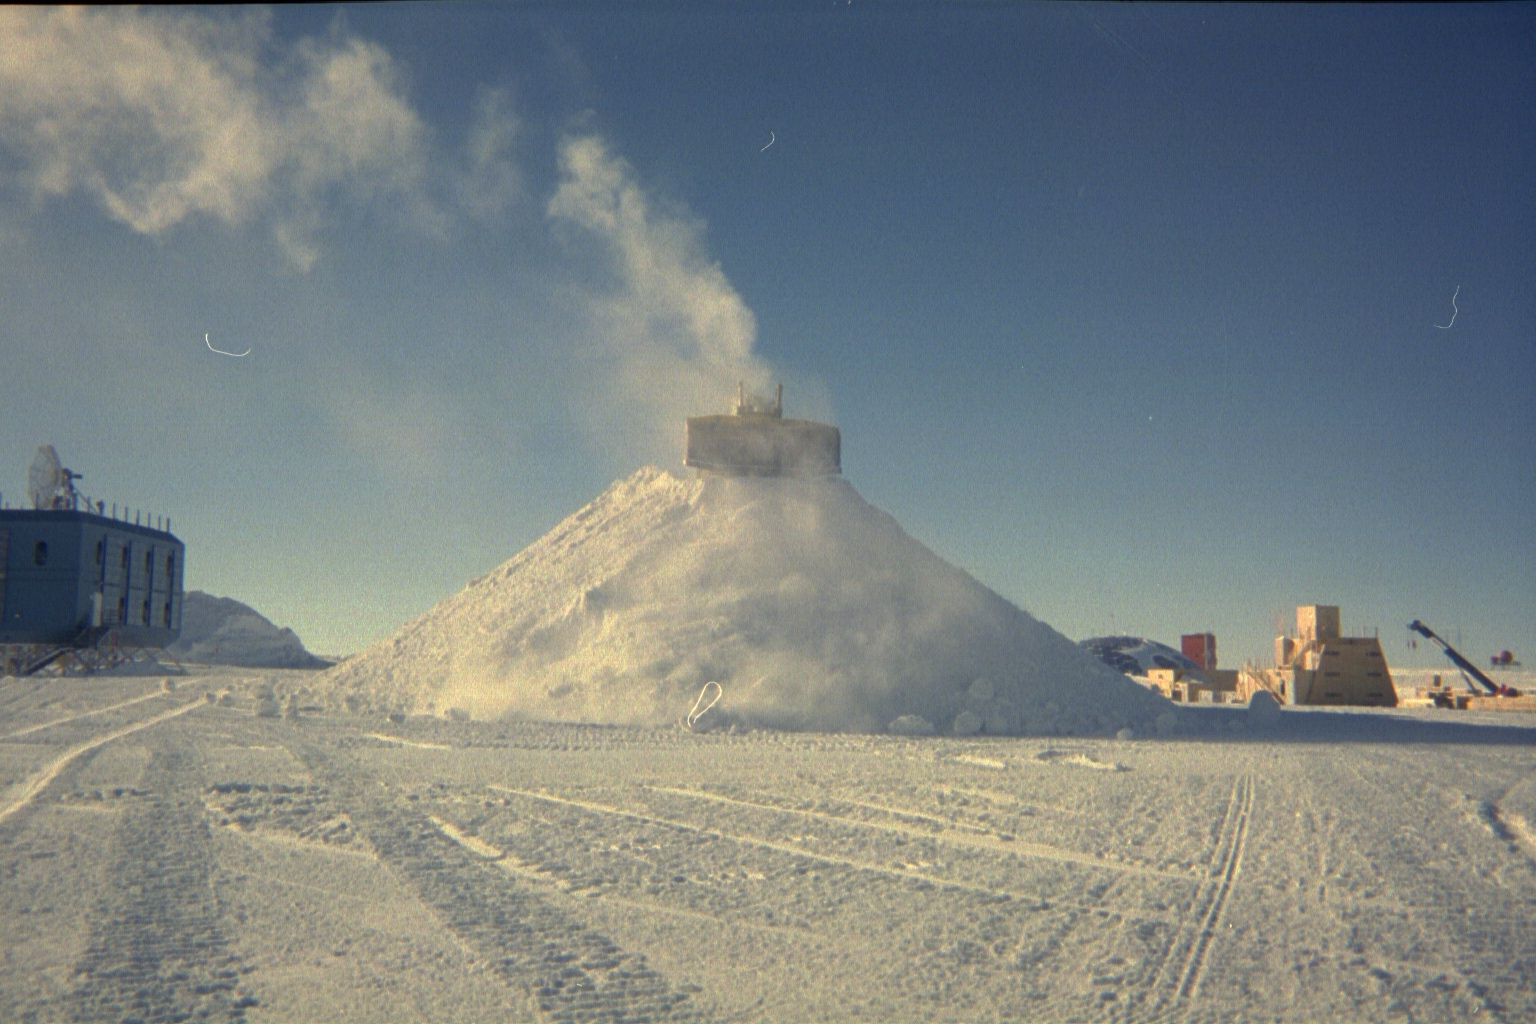
- Can you guess what this is?
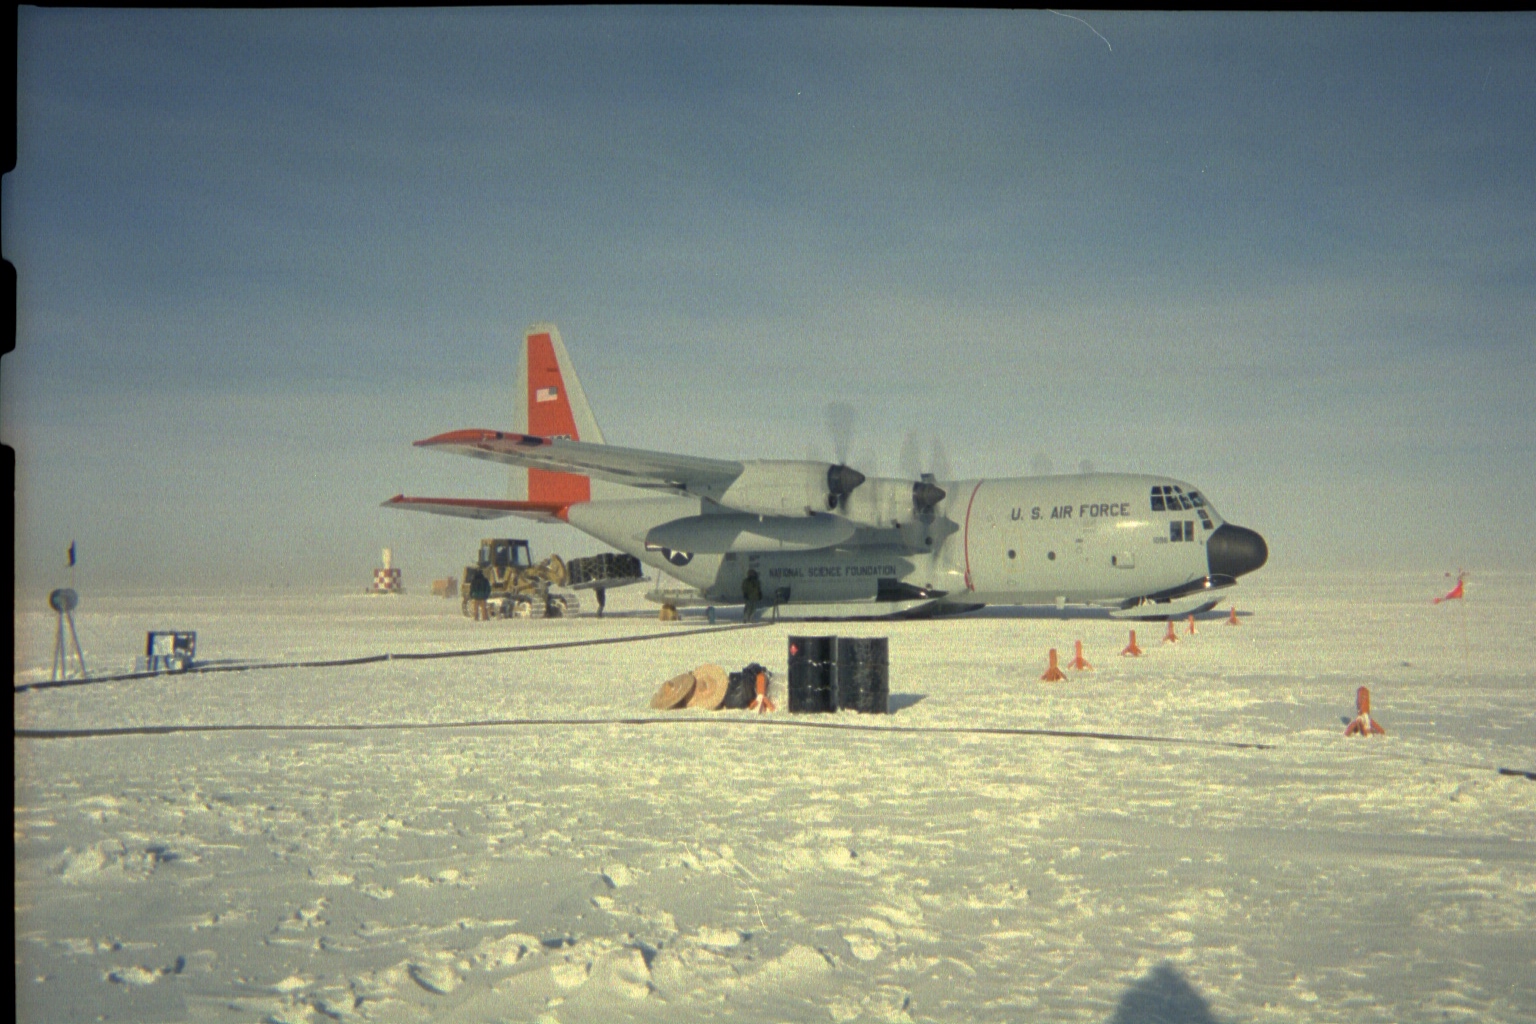
- Going home. Be back soon.
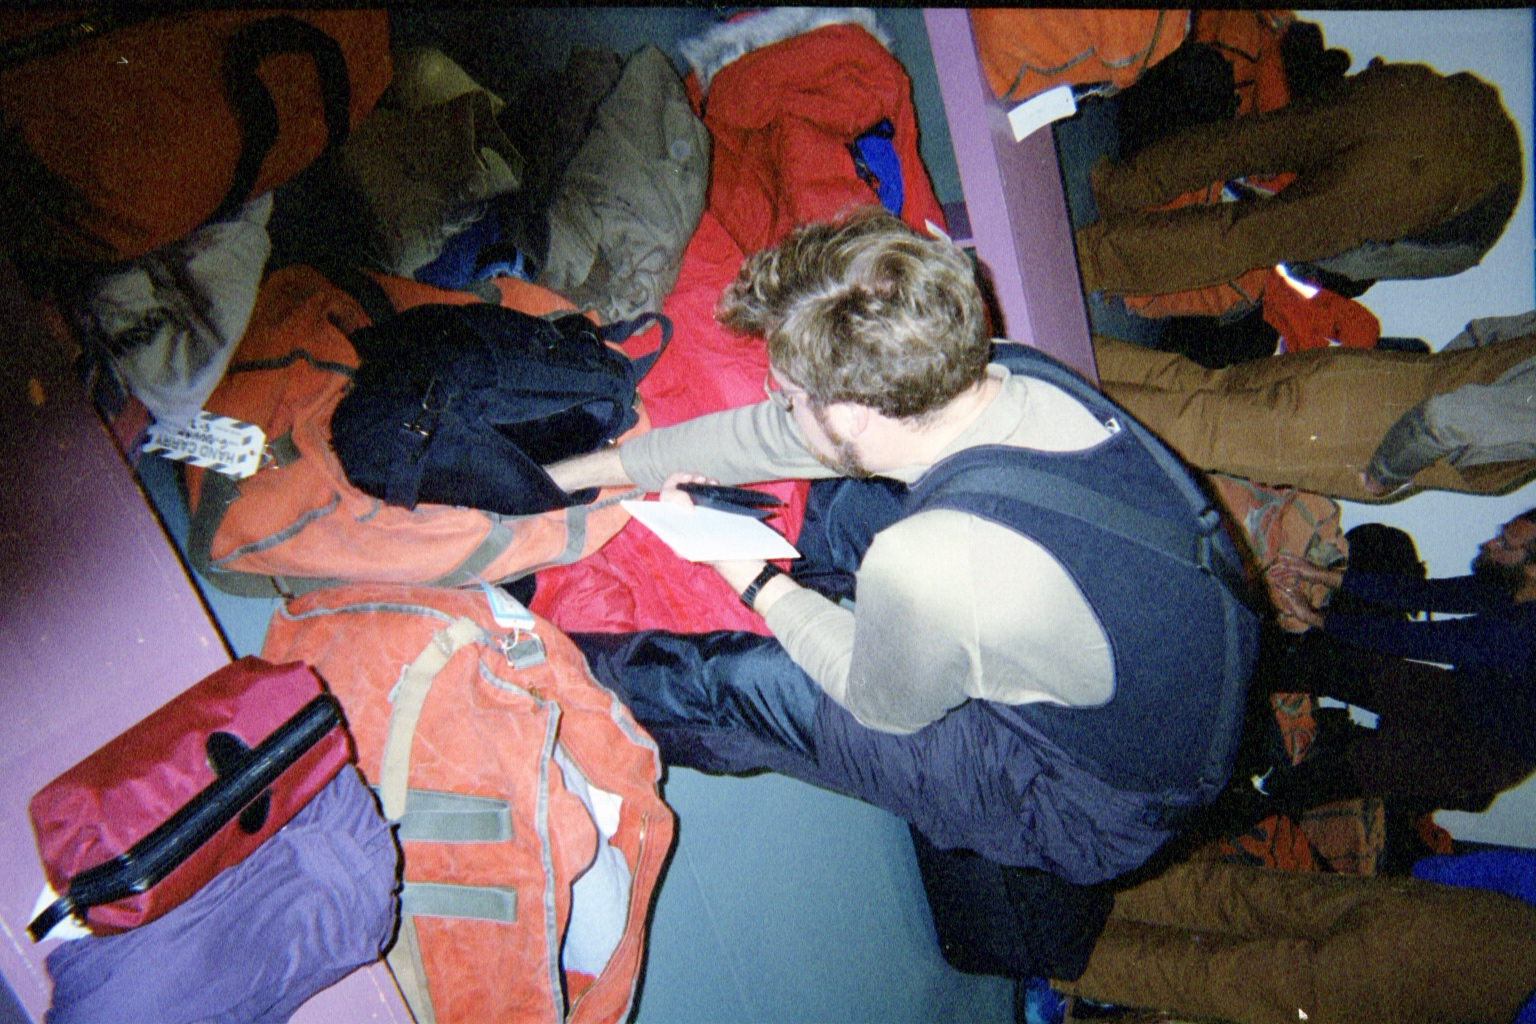
- In New Zealand - changing out of warm clothes.
- Mark Vincent photo #27. small image & large image
- Mark Vincent photo #28. small image & large image
- Mark Vincent photo #29. small image & large image
- Mark Vincent photo #30. small image & large image