- IMPORTANT: beware of static. take all the usual precautions.
- the mirror heating system chassis (fig 3) has four ribbon cables
coming out of
the
back of it.
- DIO to Martin's PC
- A/D to Martin's PC
- DIO to Mac
- A/D to Mac
- NOTE: Mark has pointed out that the two ribbon cables that run from
the
mirror
heating system chassis to Martin's PC do not run *directly*. They
actually pass through a break-out box that is located at the rear of the
*main* heating system chassis. This is a bit strange, but thats how the
cables run.
- right now the "DIO to Martin's PC" and the "A/D to Martin's PC" are
presumably connected to Martin's PC. The "DIO to Mac" and the "A/D to
Mac" are presumably not connected. IMPORTANT: you *never* want to
have both computers connected to the mirror heating system chassis
at the
same time. Also, before you unplug anything, make sure that you label it
appropriately so that you know how to hook it back up the way it was
originally connected, if necessary.
- You told me in late May that the monitor of the Mac is
dead. But according to Mark, the Mac
monitor will eventually work if you let it warm up for a while. (Maybe
you
already tried this?)
- In case it turns out that the monitor really is *dead* (but please
note that Mark says maybe it just takes a long time to warm up) then
please note the following: You will find that this monitor has an unusual
connector (with some RF connections). So it may be hard to find another
monitor with an identical connector. However, Bob L. says that you can
use *any* macintosh monitor as long as you plug it into the motherboard
instead of into the video card that has the unusual connector. After
doing this, you will have to reboot the Mac in order for it to detect
the new monitor that is connected.
- You will need to know where (on the Mac) to plug in the A/D and where
to plug in the DIO. This should be labelled on the Mac, but you have to
look carefully. The labelling is on the perimeter of the connector at the
back of the Mac, and you have to look "from the side" according to Mark.
- The Mac program will start automatically. The Mac will simultaneously
display each mirror temperature in two ways: first, in Kelvin, and
secondly, as a differential between the mirror and the ambient sensor.
Channels 1-4 are the primary, 5, 6, and 8 are the condenser, secondary,
and azimuth ring, and 11 is the ambient sensor. If you want to quit the
program you have to quit it twice.
- The procedure you should follow to make the change is straightforward:
- A) I assume the following starting configuration: mirror heating
system powered up. Martin's PC turned off but still connected. Mac
turned
off and disconnected. Thus, the mirror current will be 40 Amps (set
by current limit).
- B) unplug the two PC ribbon cables (DIO and A/D) at back of Martin's
PC.
Make sure to unplug the ones that go to the mirror heating system chassis,
not the
ones that go to the main heating system chassis. or you can unplug them
all if you
want. This should be OK as the main heating system will run with no
computer. As I said above, label everything that you disconnect so that
you can go backwards if necessary.
- mirror current should go to zero amps at this point, according to Mark
- C) plug in the two Mac ribbon cables (DIO and A/D) to the Mac
- D) turn on the Mac
- after some time to reach equilibrium state, you should see mirror current cycle between 0-10-20 Amps
- E) stick around MAPO for a while and watch the electronics heater system and watch the mirror heater system to be sure it is all working well.
- A) I assume the following starting configuration: mirror heating
system powered up. Martin's PC turned off but still connected. Mac
turned
off and disconnected. Thus, the mirror current will be 40 Amps (set
by current limit).
---
Fig. 1 - image 004
---
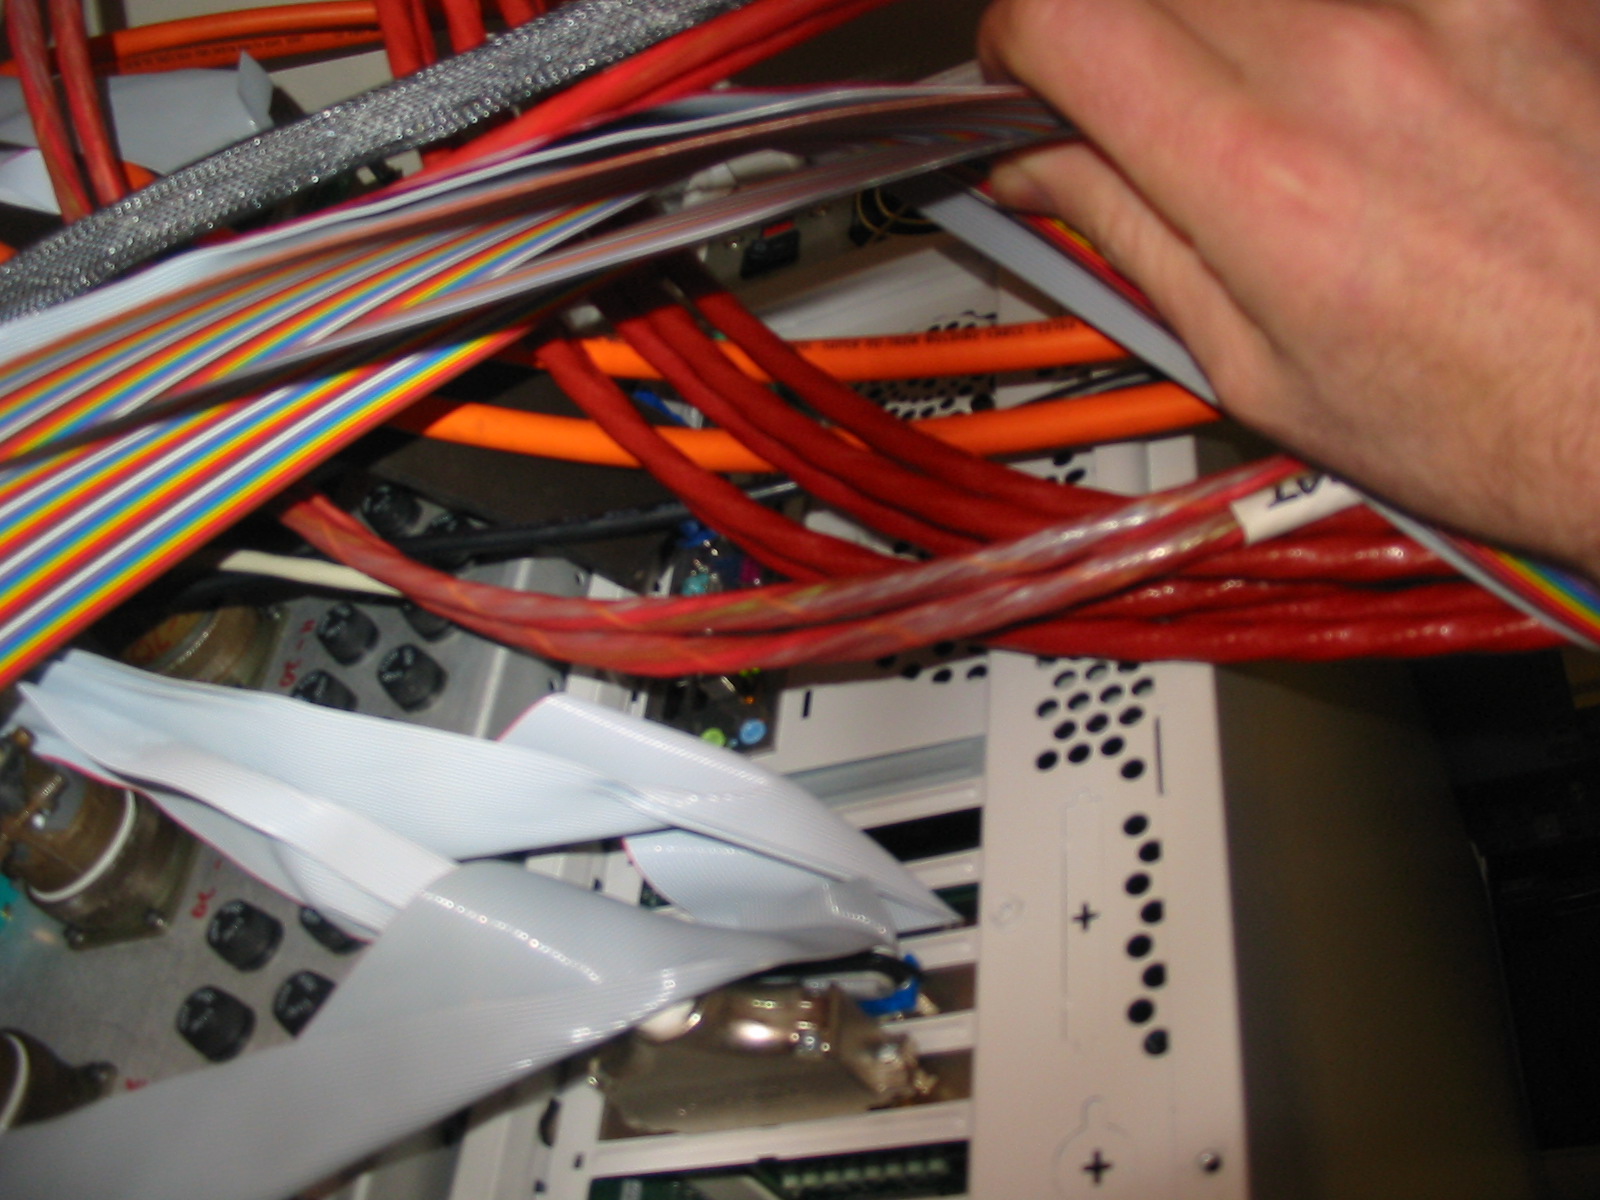
Fig. 2 - image 005
---
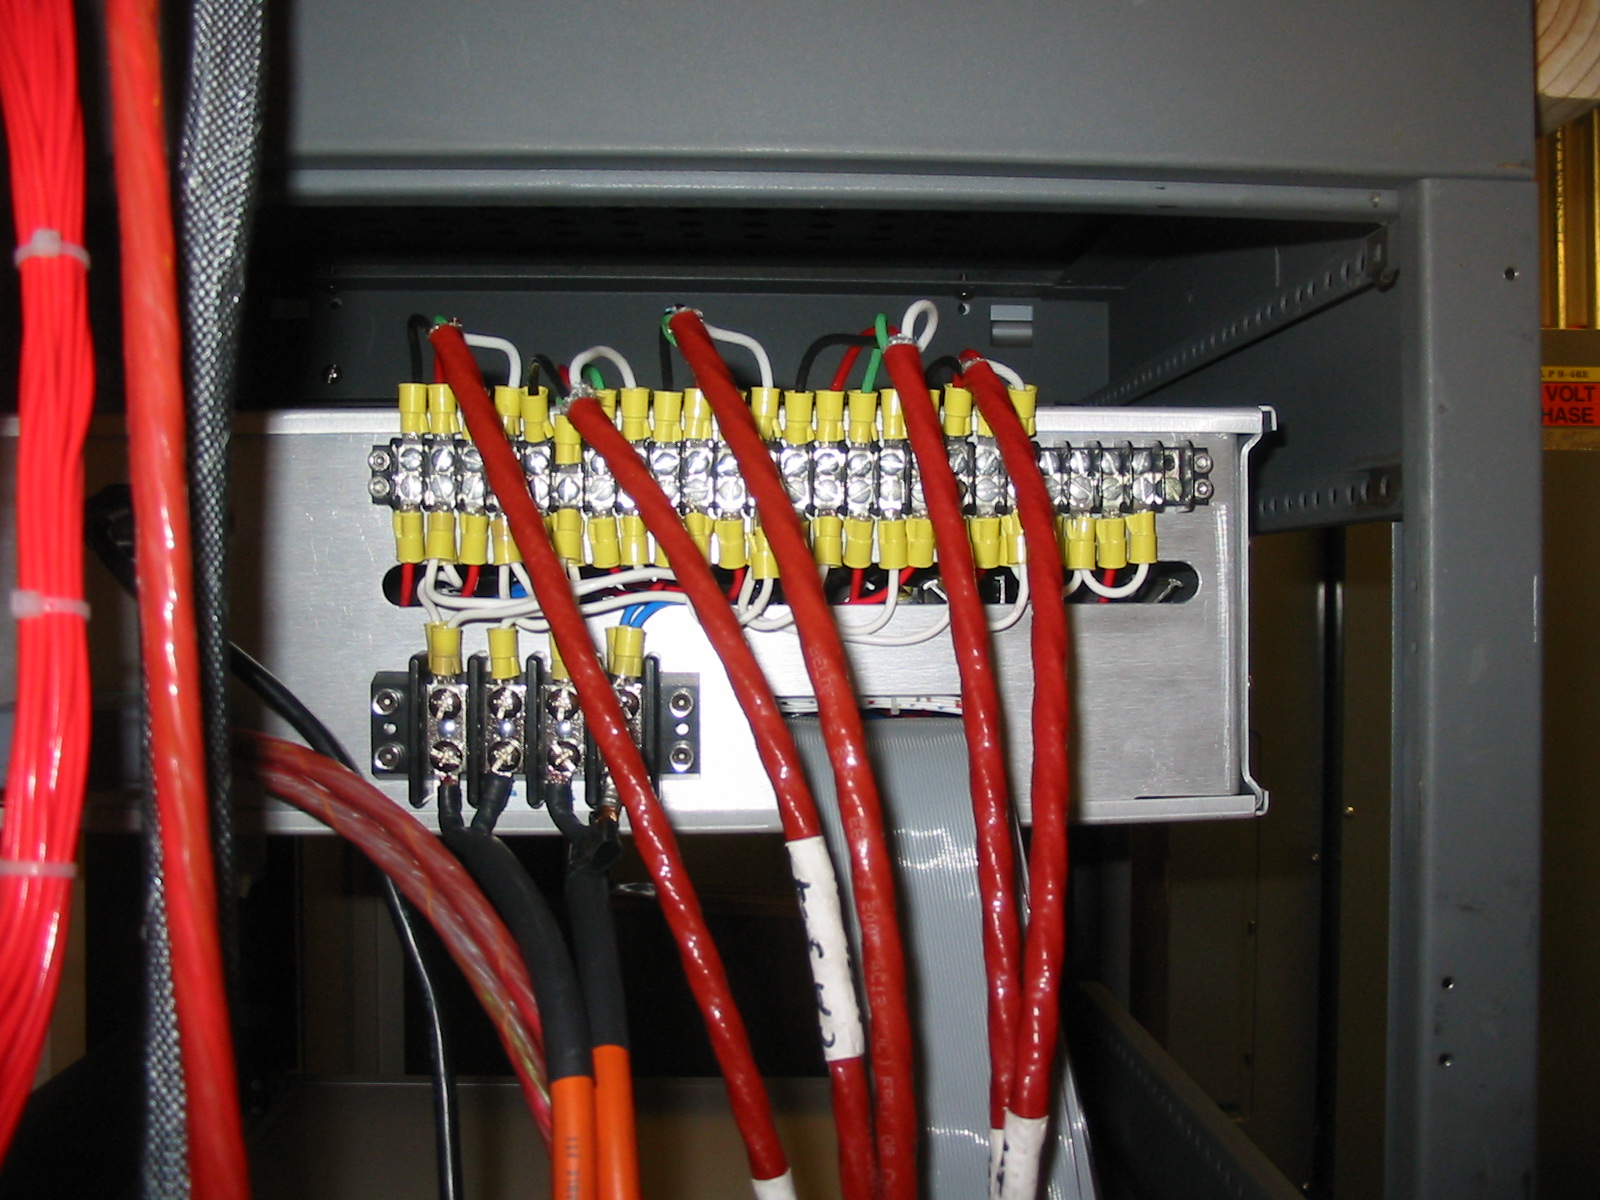
Fig. 3 - image 007